This is one of another feature that vCenter4.0 (although it existing in VirtualCenter 2.5) provides that we can give remote console access thru RemoteConsole Plug-in and also can be accessed by web browsers.
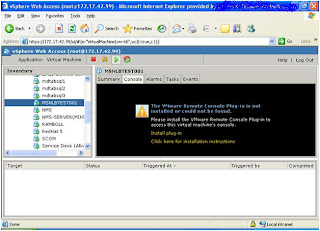
Browse the vCenter web console thru Internet Explorer® or FireFox.
Select the desired VM and navigate to “Console” button.
Then, Install the Remote Console Plug in in your desktop
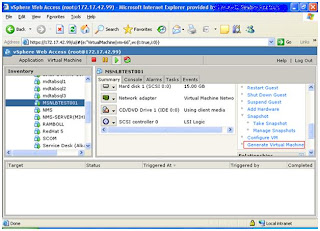
After the installation of the plug-in, navigate back to “Summary” tab.
Click “ Generate Virtual Machine”
Then pops up a window with URL of the VM
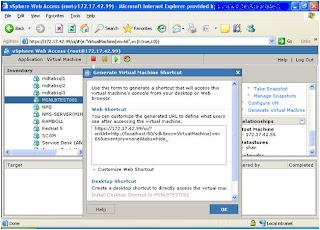
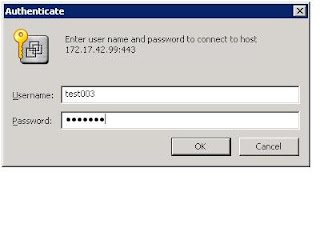
Copy and paste URL in the browser or double click the “Remote Console Plug-in” shortcut in your desktop.

Browse the vCenter web console thru Internet Explorer® or FireFox.
Select the desired VM and navigate to “Console” button.
Then, Install the Remote Console Plug in in your desktop

After the installation of the plug-in, navigate back to “Summary” tab.
Click “ Generate Virtual Machine”

Then pops up a window with URL of the VM

Copy and paste URL in the browser or double click the “Remote Console Plug-in” shortcut in your desktop.


Comments